Developer Onboarding
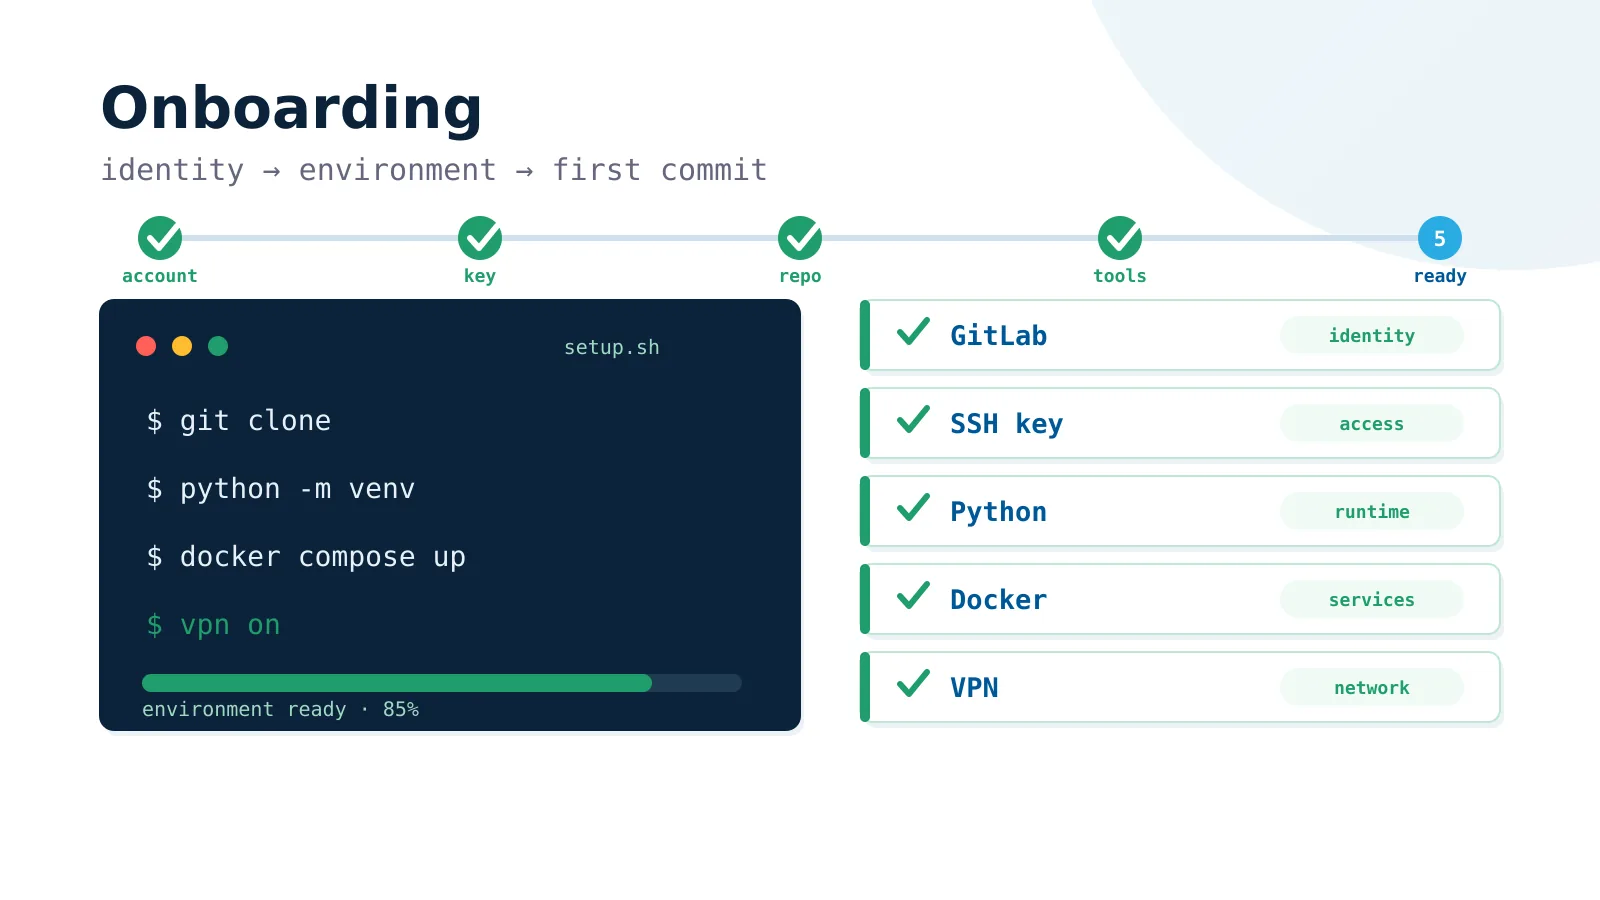
This guide explains how to set up a workstation and start local development. If a term is unfamiliar, use the engineering glossary. Also read the time management and productivity guide.
Shell aliases
Add aliases to your shell configuration, such as ~/.bashrc. These shortcuts activate a Python virtual environment, start the VPN, and shorten common Docker commands:
alias activate='source .venv/bin/activate && python3 --version && which python3 && pip --version'
alias python='python3'
alias venv='python3 -m venv .venv'
alias vpn='sudo wg-quick up wg0; sudo wg show'
alias vpn-down='sudo wg-quick down wg0'
alias dc='docker compose'
Reload your shell configuration after saving it.
Workstation setup
ssh-keygen -t ed25519 -C "firstname.x@pceuropa.net"
eval "$(ssh-agent -s)"
ssh-add ~/.ssh/id_ed25519- Display your public key with
cat ~/.ssh/id_ed25519.pub, then add it under GitLab > User Settings > SSH Keys. - Add a GitLab avatar to make project activity and reviews easier to identify.
- Install an IDE or editor suitable for Python development.
- Log in to the PCEUROPA Slack workspace.
- Open the whole_internet GitLab project, select Code, copy the Clone with SSH URL, and run:
git clone <ssh-url>- Confirm that your Python version matches the version required by the project:
python3 --version- Install MongoDB Compass and IPython:
sudo apt install ipython3- Ask your buddy for authorized development-database access. Use
DB_URIfromcrawler/.envwithmongodumpandmongorestorewhen a local copy is required. Never commit credentials or database dumps.
Start the local environment
- Enter the crawler directory:
cd ~/crawler- Create a virtual environment:
python3 -m venv .venv- Activate it and confirm the active tools:
source .venv/bin/activate
python3 --version
which python3
pip --version