Fully Securing OVH Mail under Cloudflare Nameservers
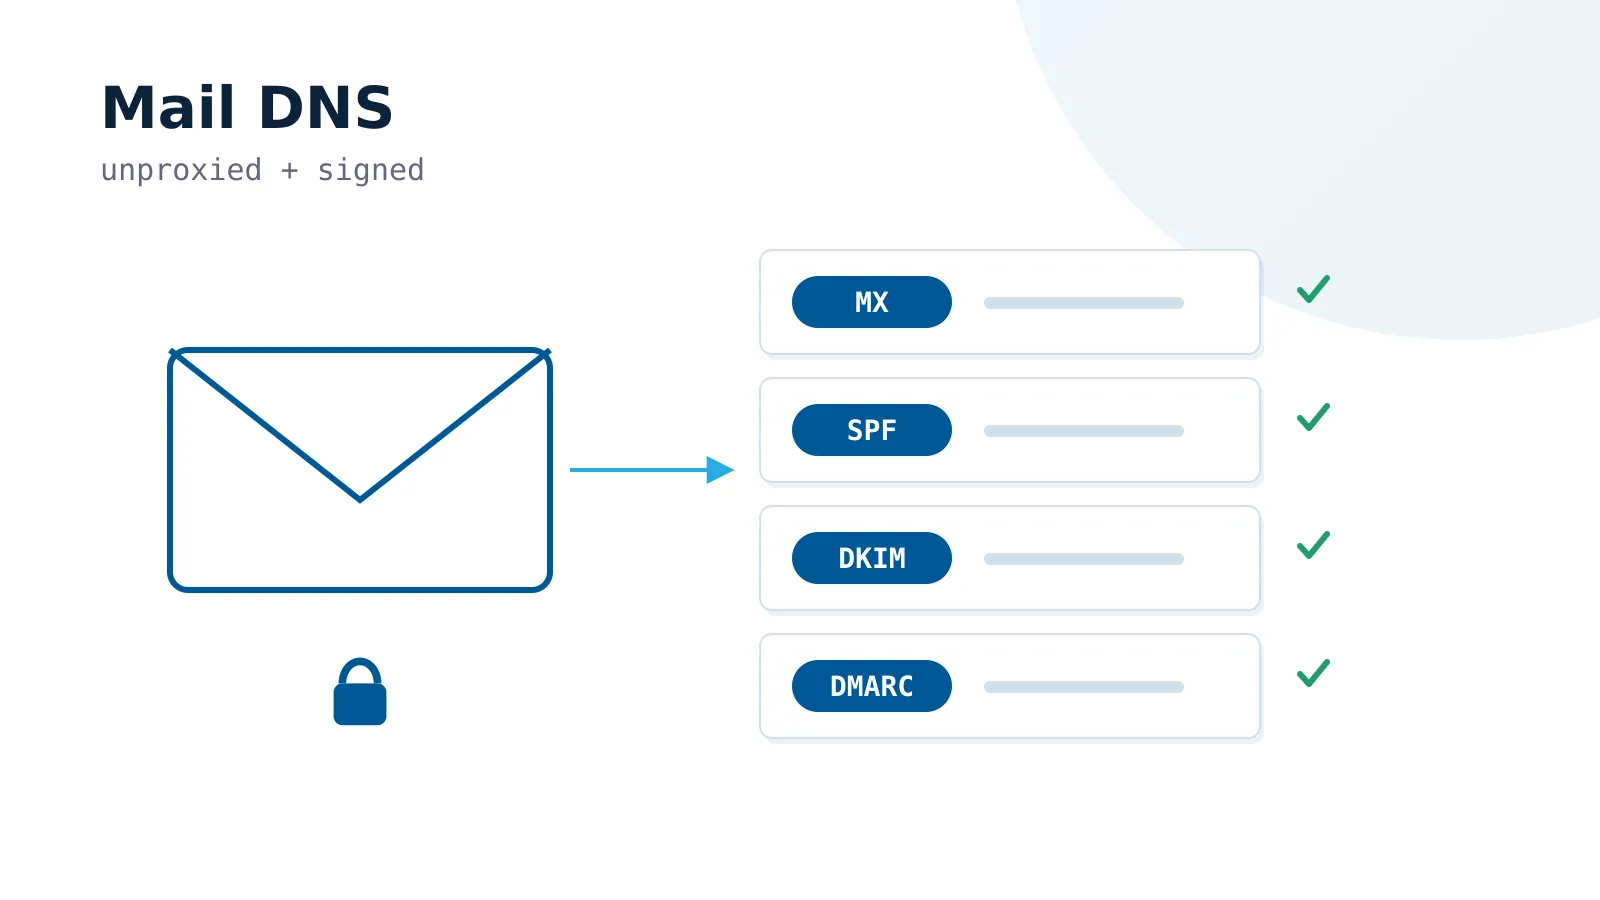
Delegating a domain to Cloudflare nameservers takes DNS away from OVH, so every mail record has to be recreated by hand. Miss one, or leave the orange cloud on it, and mail stops flowing. This walks through the five records that keep OVH mail delivered and out of spam folders.
The Golden Rule: proxied = false
⚠️ THE GOLDEN MAIL RULE ON CLOUDFLARE:
Every DNS record used for mail routing and handling (MX records and CNAME / A records likeimap,smtp,pop3) MUST have proxying disabled (proxied = false).
Cloudflare’s standard proxy only handles HTTP/HTTPS traffic. Mail protocols (SMTP on port 25/465/587, IMAP on 143/993, etc.) will fail if routed through Cloudflare’s proxies. Leaving the orange cloud enabled on mail hostnames will completely break your email clients’ ability to connect to OVH’s servers.
1. MX (Mail Exchange) Records
MX records tell mail servers where to route incoming mail for your domain. OVH requires three mail exchange nodes with priorities (1, 2, and 3):
locals {
  ovh_mx_servers = {
    "mx1.mail.ovh.net" = 1
    "mx2.mail.ovh.net" = 2
    "mx3.mail.ovh.net" = 3
  }
}
resource "cloudflare_record" "mx" {
  for_each = local.ovh_mx_servers
  zone_id  = cloudflare_zone.new_zone.id
  name     = "@"
  type     = "MX"
  content  = each.key
  priority = each.value
}
2. Common Mail Client CNAMEs
These help mail programs automatically discover correct connection settings (autoconfig, autodiscover) and connect via standard hostnames. Always set proxied = false.
locals {
  ovh_mail_cnames = {
    imap         = "ssl0.ovh.net"
    mail         = "ssl0.ovh.net"
    smtp         = "ssl0.ovh.net"
    autoconfig   = "mailconfig.ovh.net"
    autodiscover = "mailconfig.ovh.net"
  }
}
resource "cloudflare_record" "mail_cnames" {
  for_each = local.ovh_mail_cnames
  zone_id  = cloudflare_zone.new_zone.id
  name     = each.key
  content  = each.value
  type     = "CNAME"
  proxied  = false # Must be set to false!
}
3. SPF (Sender Policy Framework)
The SPF record is a TXT record on your root domain (@) detailing which IP addresses and subnets are authorized to send mail from your domain. For OVH, you must include their authorized outbound nodes (include:mx.ovh.com).
resource "cloudflare_record" "spf" {
  zone_id         = cloudflare_zone.new_zone.id
  name            = "@"
  type            = "TXT"
  content         = "\"v=spf1 include:mx.ovh.com ~all\""
  allow_overwrite = true
}
Understanding the suffix:
~all(SoftFail): Unauthorized emails are accepted but may be flagged/marked as suspicious (recommended initially).-all(HardFail): Demands receiving servers entirely reject any emails originating from outside OVH’s network (highest security).
4. DKIM (DomainKeys Identified Mail)
DKIM signs outgoing emails with a cryptographic signature, which receiving servers verify using a public key published in your DNS. This ensures messages have not been altered in transit. OVH structures its DKIM using CNAME records pointing to their delegated names (usually rotating across two selectors).
locals {
  dkim_selectors = {
    "selector1" = { name = "ovhmoXXXXXXX-selector1._domainkey", content = "ovhmoXXXXXXX-selector1._domainkey.XXXXX.ah.dkim.mail.ovh.net" }
    "selector2" = { name = "ovhmoXXXXXXX-selector2._domainkey", content = "ovhmoXXXXXXX-selector2._domainkey.XXXXX.ah.dkim.mail.ovh.net" }
  }
}
resource "cloudflare_record" "dkim" {
  for_each = local.dkim_selectors
  zone_id  = cloudflare_zone.new_zone.id
  name     = each.value.name
  content  = each.value.content
  type     = "CNAME"
  proxied  = false
}
(Note: Please retrieve the exact selector names and target values from your OVH emails/management dashboard).
5. DMARC (Domain-based Message Authentication, Reporting, and Conformance)
DMARC links SPF and DKIM. It defines how receiving servers should handle emails that fail authentication and establishes reporting back to you regarding delivery attempts.
resource "cloudflare_record" "dmarc" {
  zone_id = cloudflare_zone.new_zone.id
  name    = "_dmarc"
  type    = "TXT"
  content = "\"v=DMARC1; p=none; rua=mailto:info@pceuropa.net\""
}
Policy parameters (p):
p=none: Monitor only. Rogue emails are delivered normally, and failure reports are sent to theruaaddress.p=quarantine: Delivers failing emails straight to the recipient’s Spam/Junk folder.p=reject: Instructs receiving servers to flatly reject and drop unauthorized emails (highest level of protection).
6. Bonus: DNSSEC (Domain Name System Security Extensions)
DNSSEC adds cryptographic signatures to your DNS records, protecting users from DNS spoofing and cache-poisoning attacks.
- Within your Cloudflare Dashboard, go to DNS -> Settings and click Enable DNSSEC.
- Cloudflare will generate parameters for a DS record (Key Tag, Algorithm, Digest Type, Digest).
- Log in to your registrar’s portal (e.g., OVH), head to your domain’s DNSSEC section, and add a new DS record using the exact values from Cloudflare.
What to Check Before You Tighten DMARC
Start at p=none and read the aggregate reports for a week before moving to quarantine or reject. Enforcing a policy you have not measured is the usual way legitimate senders start disappearing.